
Reverse sear fried chicken A.K.A Sous-vide Fried Chicken (SVFC)
1. Sous vide and the Reverse Sear
Sous vide, cooking in a water bath with tight temperature controls (to within a degree of target temperature), is often used as the first step in a reverse sear approach. Whilst sous vide shines at precise and even internal cooking, it is impossible to get a nice finish on a piece of meat or vegetable using sous-vide, as it cooks at temperatures way below those needed for searing a steak, for example.
The reverse sear technique is a simple two-part cooking method
- First cook the food at a low temperature - this might be in the oven, BBQ or sous vide - this step ensures that the food is fully and (hopefully) evenly cooked through
- Very quickly sear the food at a very high heat to get the crust on the food
(it is referred to as reverse sear, because more commonly in cooking, recipes will recommend searing meat before further cooking, but this reverses it at ends with sear as the last step)
2. Why bother with the reverse sear?
With many foods, we have a balance that we want to achieve, between perfectly cooked and juicy insides with a nice deep sear/crust on the outside. The challenge is that to get a nice sear or crust we usually need high temperatures (or moderately high temperatures for a longer period) where as for a moist inside we need to keep the temperature a lot lower.
Let’s take a steak for example, if we just cook that hot and fast from the start (which is perfectly acceptable thing to do, and something I often do when cooking steaks), we can get a great sear on the outside of the steak, so it will be a deep brown colour. However, with all that heat energy being applied to the steak for the duration of the entire cook, we cannot but help having slightly overcooked meat inside. Not throughout, of course, we can cook just until the centre of the steak if perfectly medium-rare (or however we like it), but with a constant application of heat during cooking we will get a gradient of temperatures throughout the steak from the edge to centre.
Reverse sear, and slow cooking in general, looks to reduce that gradient to be as flat as possible (sous vide completely flattens that temperature gradient) and only apply that much higher heat briefly, right at the end, so it has minimal chance to over cook.
3. What does this have to do with fried chicken?
So far, we have only talked about using the reverse sear technique to cook steak, what about this fried chicken?
Well, fried food has a very similar challenge - that is, we want to have a nicely browned and crunchy outside/batter whilst the inside correctly cooked. If you have heard of (or tried making) double or triple fried chips (originally made famous by Heston Blumenthal), this is basically the same approach as the reverse sear. The chips are cooked first, at a lower temperature (normally first step is parboiling) then they are fried at a higher temperature (in triple fried there are two frying steps, one lower then finishing hot for the sear step).
And the same applies to chicken. Chicken breast is a notoriously lean piece of meat, and overcooking, even only a little can lead to fairly dry meat, which is definitely not what you want when you think of fried chicken. A lot of recipes will cook at a medium temperature (frying at around the 170 degree mark) to try to walk the balance of not overcooking the chicken whilst nicely forming a crispy batter. And this is a fine approach, you can get very good fried chicken like that. But I thought it’d be fun to try something different.
4. Twice cooked fried chicken
So this is where we get to the pay-off, twice cooked fried chicken, a.k.a reverse seared fried chicken. Korean fried chicken has been using this approach for a long time, often initially frying the chicken at a much lower 130 degrees to gently, and fairly evenly, cook the chicken before then finishing it very quickly in much hotter oil (190-200 degrees) to crisp up the batter.
With this principle in mind, it seemed like sous vide could do the first step perfectly and then when its time to eat quickly finish in the fryer.
Normally I would brine my chicken in buttermilk before dredging in batter and frying, but I wasn’t so keen on the idea of cooking the buttermilk for a longer period of time, so played it safe and just salted the chicken breast the day before and let that brine in the fridge overnight. I then sous vide the chicken breast at 63 degrees before cooling, dredging and then frying for just a couple of minutes in hot oil (as hot as I could get!).
The technique, whilst more time consuming (at least elapsed time anyway - hands on time is very low) than alternative approaches, worked well. The chicken breast was beautifully moist inside and the batter golden brown and crispy. I won’t be cooking all my fried chicken like this purely because of the time involved (well, ok, maybe I will whilst I am still working at home its not too much work to chuck the chicken in the sous vide early in the afternoon ready for a quick tea time cook!), but it was a fun experiment and produced good results.
- 4 fried chicken burgers, scale appropriately as you need!
- 10 minutes
- 1 hour sous vide + 3-5 minutes frying
Ingredients
- 4 chicken breasts
- 150ml buttermilk
- 5 teaspoons spice rub - you can absolutely make your own, but BBQ rubs are great for this.
- 100 grams flour
Directions
- Salt the chicken breast and leave to brine in the fridge, ideally overnight but no big deal if you don't have the time
- Setup the sous vide to cook at 63 degrees, vacuum pack (or use a ziploc bag with the submersion method) and cook the chicken breasts for one hour
- Create the dry batter mix by mixing flour and spices together
- Remove the bag from the water bath, and cool in an ice bath or under cold running water (still in the bags)
- Remove the chicken from the bags, pat dry and dip in buttermilk and then dredge in batter
- Put the chicken pieces, taking care not to overcrowd the pan, in the fryer at 190-200 degrees and cook for about three minutes (or until the batter looks golden and crispy)
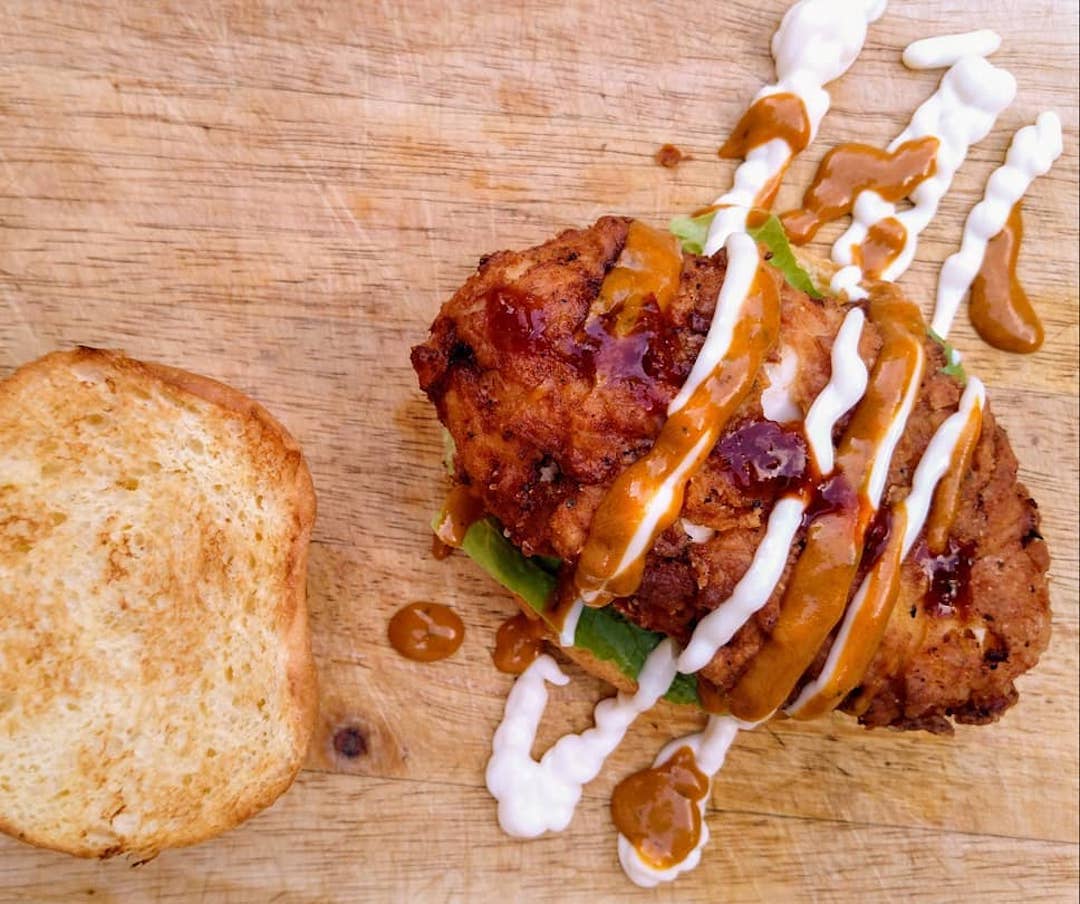
- Remove from the oil, pat dry and serve in buns with condiments of your choosing!
More delicious recipes
This is one of the many fantastic recipes available on this blog